Getting Started
Log in to YAZZYOS, navigate the dashboard, set up your first branch, and add your first product.
This walks you through your first day on YAZZY OS: logging in, exploring the dashboard, and getting the basics in place.
1. Log in
- Open the YAZZY OS web app, desktop app, or mobile app.
- Enter the email address and password your administrator set up for you.
- Select Log In.
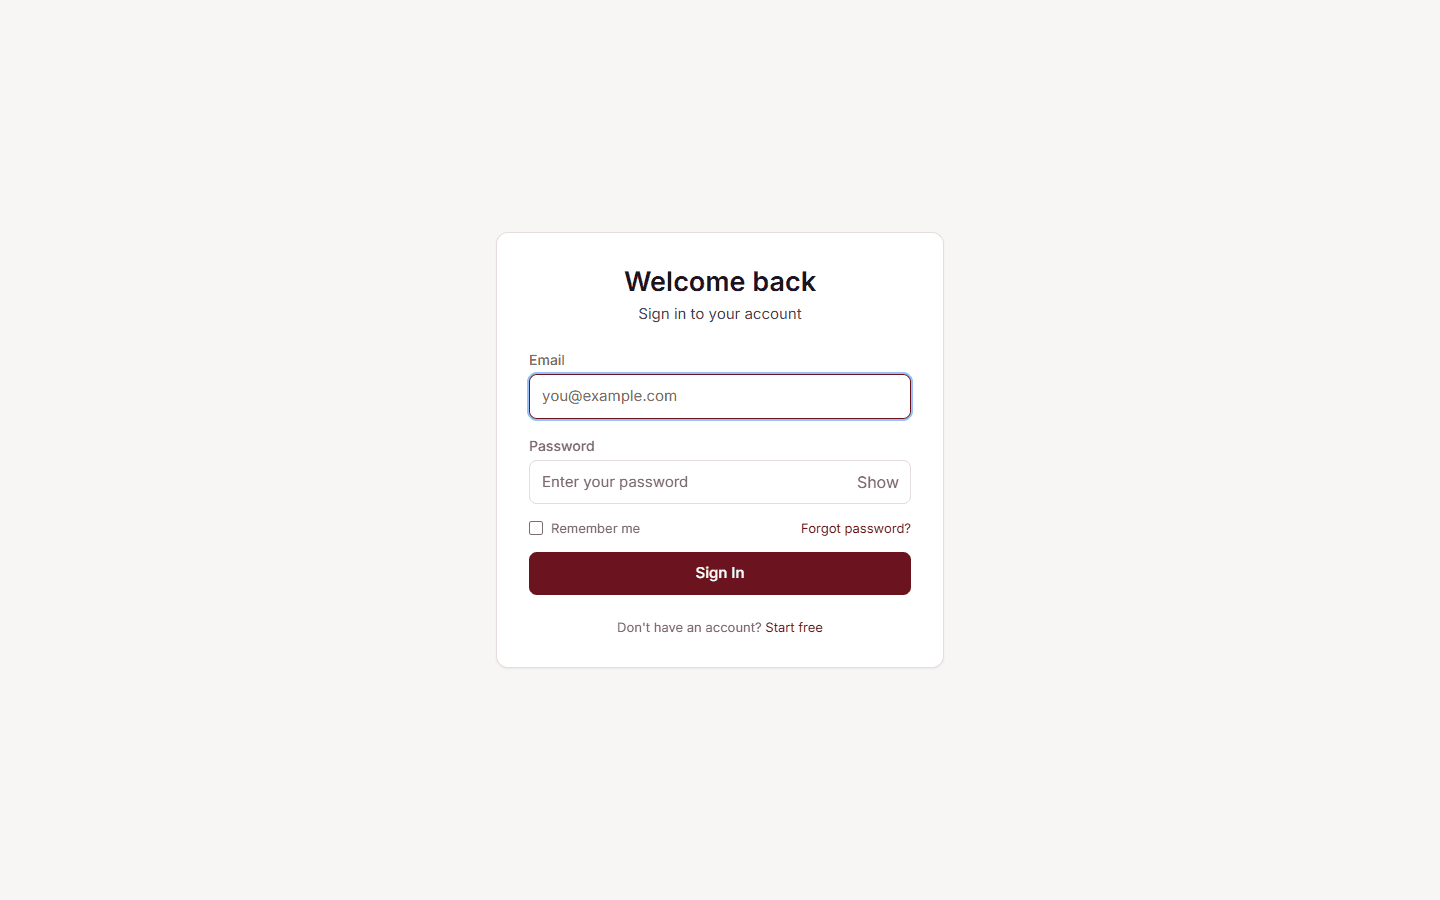
If you have not received your login details, ask the business Owner or Manager to invite you from the Team section. You will receive an email with a link to set your own password.
2. Find your way around
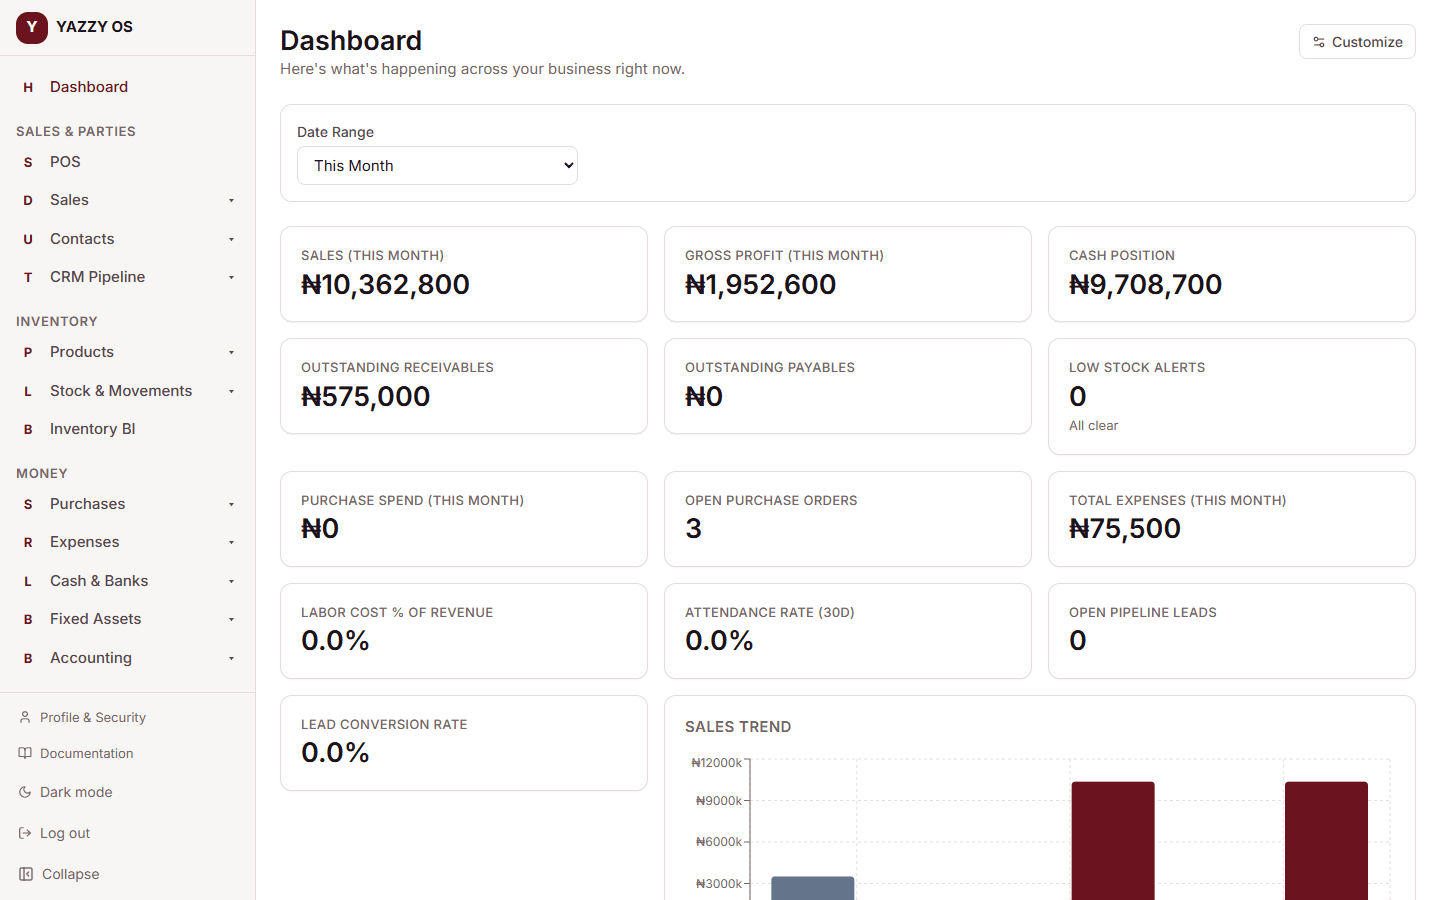
After logging in you land on the main dashboard. The left sidebar (or bottom tab bar on mobile) is your navigation — every module has its own section:
- Dashboard — a quick overview of today's activity
- Sales / POS — the till and sales management
- Inventory / Products — your product catalogue and stock
- Purchases — purchase orders and supplier management
- Cash & Banks — your financial accounts
- Accounting — reports and bookkeeping
- HR — staff, attendance, and payroll
- CRM — customers, loyalty, and campaigns
- Reports — dashboards and data exports
- Settings — workspace configuration
3. Set up your first branch
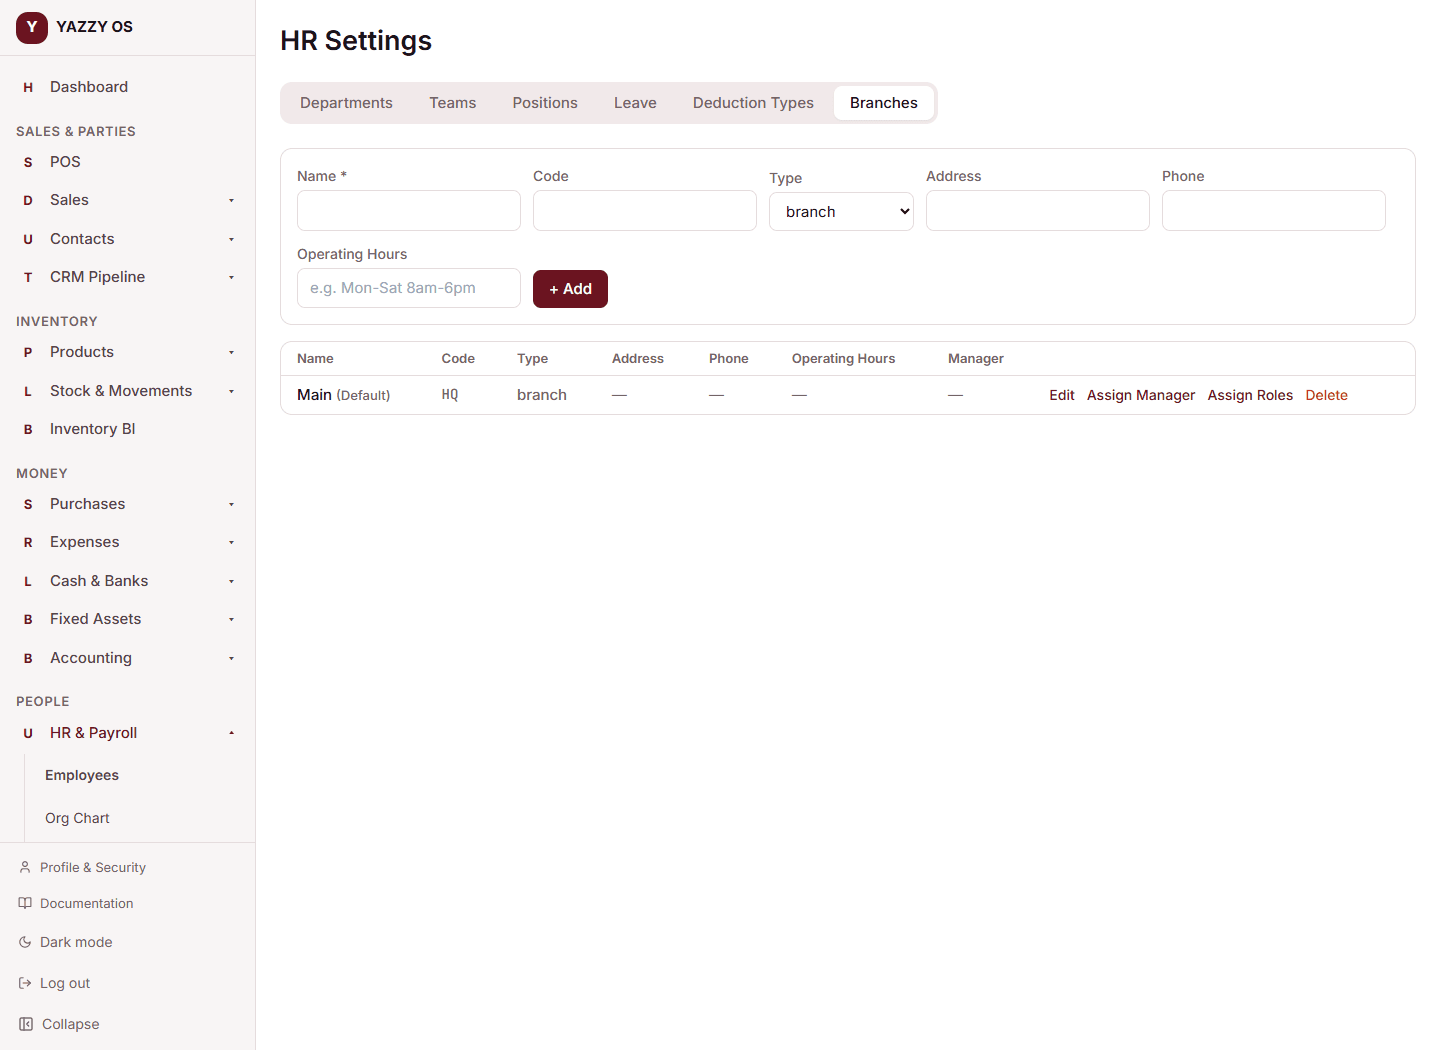
Every workspace has at least one location. If the business has more than one shop, warehouse, or store, add them now.
- Go to HR → Settings → Branches.
- Select New Branch.
- Fill in the branch name, an optional code, its type (shop, warehouse, or packing store), and its address, phone, and operating hours.
- Save.
Read more in Branches / locations.
4. Add your first staff member
- Go to Team.
- Select Invite Member.
- Enter their email address, pick a role (Owner, Manager, Accountant, Cashier, Sales Rep, HR Officer, Auditor, or Store Clerk), and optionally restrict them to one branch.
- Select Send Invite.
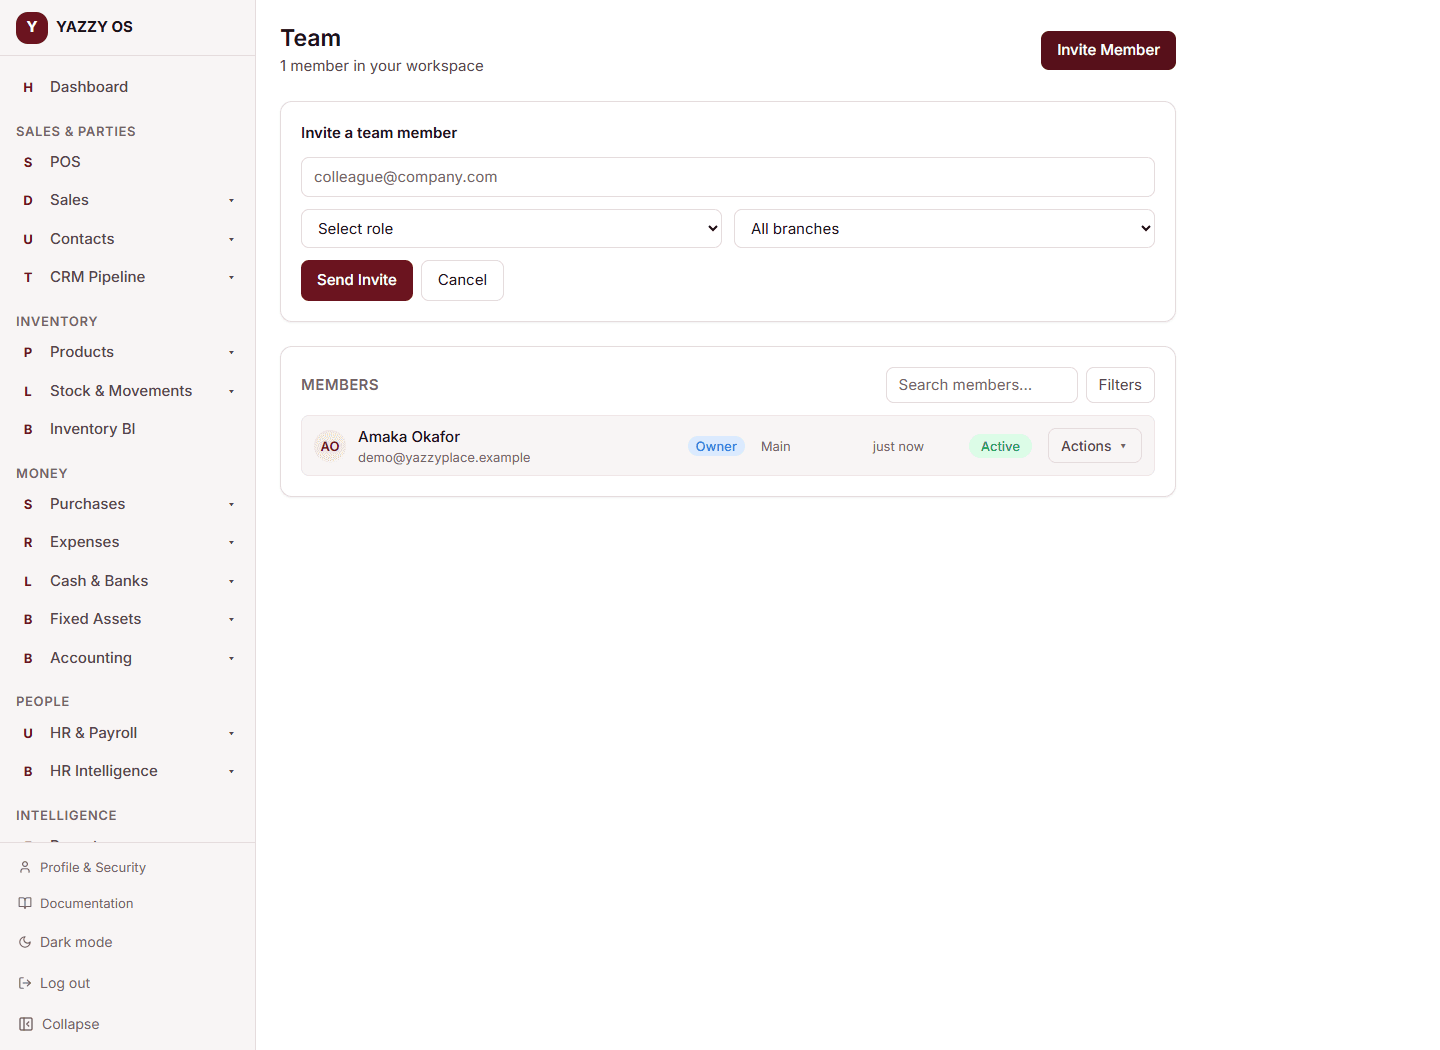
Your teammate gets an email with a link to accept the invitation. They set their name and a password, and they're in — with exactly the access their role gives them. See Roles & what your team can see for what each role can do.
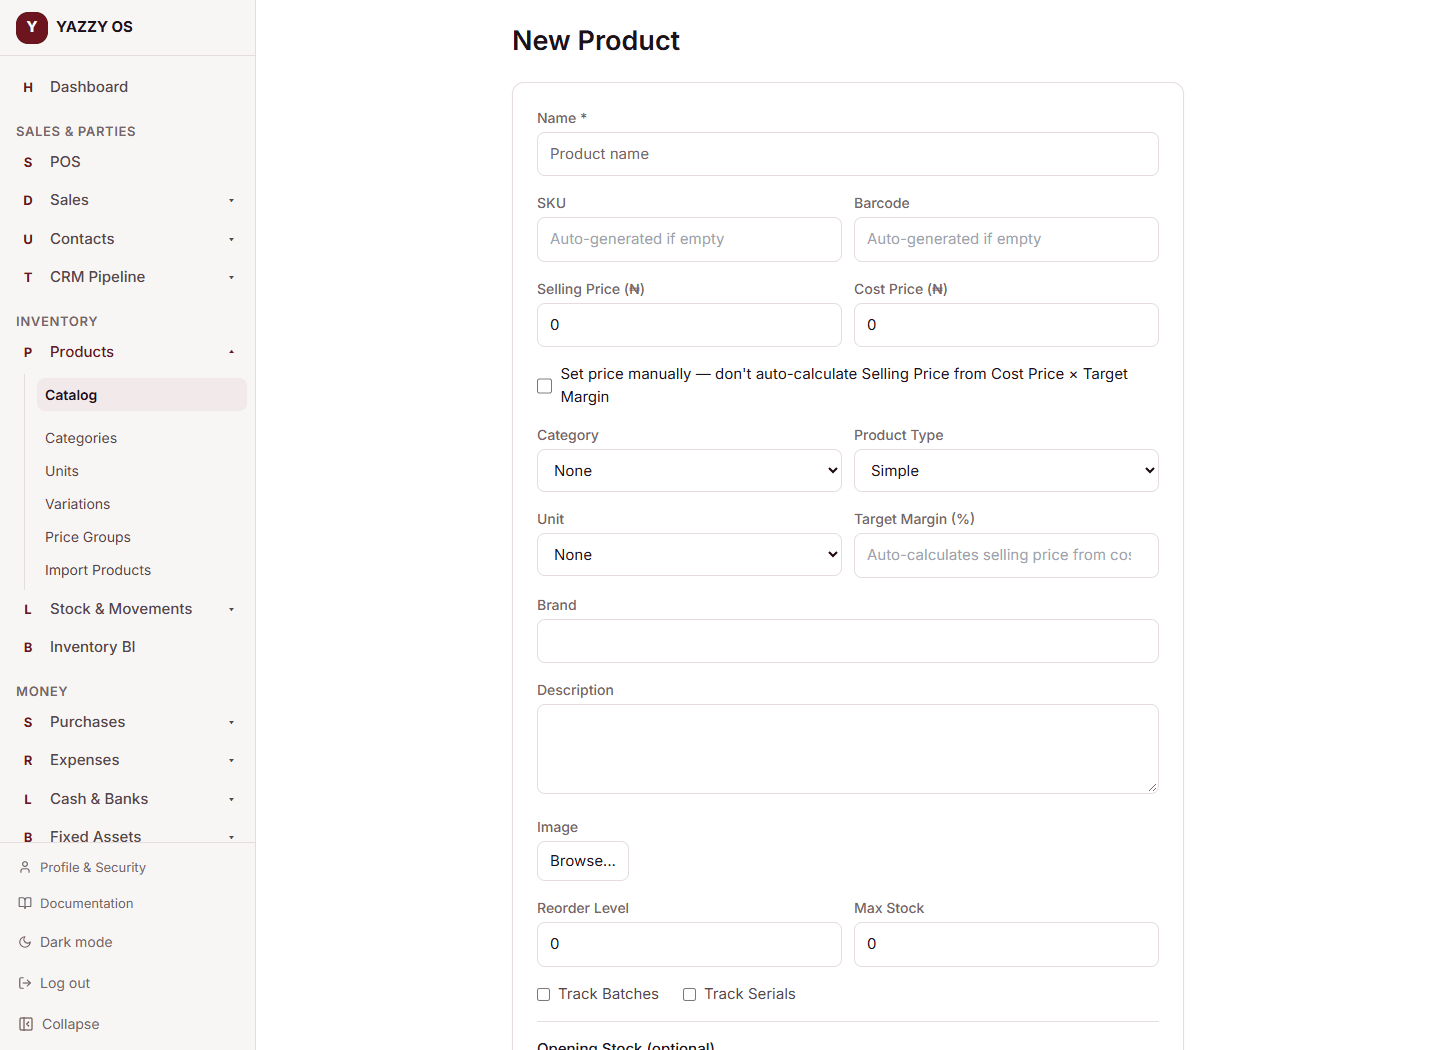
5. Add your first product
- Go to Products.
- Select New.
- Fill in the product's name, price, and any other details.
- Save.
You're set up
At this point you have at least one branch, at least one teammate invited, and one product in your catalogue — enough to record your first sale. From here, explore the module sections in the sidebar, starting with whatever part of the business you run day to day.